
Low-emissivity glazing is often marketed as a magic bullet for energy-efficient buildings. But in real projects, low e glass benefits only fully show up when the glass is selected, detailed, and installed correctly on site.
You can specify the best product on paper and still end up with drafts, overheating, fogged units, or unhappy occupants if the installation isn’t up to the same standard as the glass itself.
This guide explains how Low-E glass works, what its main benefits are, and—most importantly—which installation details protect or destroy those benefits so architects, contractors, and owners know what to watch for.
A Quick Refresher: How Low-E Glass Works
Low-E (low-emissivity) glass is standard clear glass with an ultra-thin metallic or metal-oxide coating. That coating is engineered to:
- Reflect infrared (heat) radiation
- Allow most visible light through
In practice, that means:
- In cold weather, it reflects indoor heat back inside.
- In hot weather, it reduces solar heat gain from the outside.
- All year, it can block a large percentage of UV radiation that fades finishes and fabrics.
When this performance data is fed into energy and facade studies, it changes how buildings are shaped and glazed—see how in
👉 Why Low E Glass Benefits Influence Architectural Models.
But none of those theoretical gains matter if the glass is installed with leaks, thermal bridges, or the coating facing the wrong way.
Core Low E Glass Benefits – And How Installation Affects Them
Before we get into the site details, it helps to recap the main low e glass benefits and why they’re so sensitive to installation quality.
1. Energy Efficiency & Thermal Insulation
Correctly installed Low-E windows:
- Lower U-factor (better insulation)
- Reduce heating demand in winter
- Reduce cooling demand in summer
Poor installation introduces:
- Air leaks around the frame
- Thermal bridges at frames, anchors, and sills
- Compromised insulated glass unit (IGU) seals
Result: the building behaves as if it has much cheaper glass. Energy models and real bills stop matching.
2. Stable Indoor Temperatures & Comfort
Low-E helps keep interior glass surfaces warmer on cold days and cooler on hot days, which:
- Reduces cold downdrafts
- Cuts the “hot-zone by the window” effect
- Minimizes condensation on the room side
But if frames are poorly insulated or gaps allow cold air in, occupants will still feel drafts and cold spots—even with premium glazing.
3. UV & Fade Protection
The coating blocks much of the UV that damages flooring and textiles. That benefit is fairly robust, but scratched or contaminated coatings and failed IGUs (fogging between panes) can reduce performance and ruin appearance.
4. Visual Comfort & Glare
Modern Low-E products can maintain high visible light while softening harsh daylight. Combined with the right orientation and shading, they’re a key tool for low-glare interiors, as explored in
👉 Which Low E Glass Benefits Reduce Interior Glare?.
However, if the wrong coating is installed on a sun-exposed facade—or units are oriented incorrectly—glare and reflections can increase instead of decrease.
How Incorrect Installation Undermines Low E Glass Benefits
Even with a great glass spec, things can go wrong on site. Here are the most common ways Low-E performance is lost during installation.
1. Wrong Orientation of the Coating
In an insulated glass unit, the Low-E layer is placed on a specific “surface number” (e.g., surface #2 or #3). That position is critical for:
- Heat retention vs. solar control
- Condensation risk
- Overall energy balance
If the unit is installed flipped—coating facing the wrong cavity or the exterior—thermal behavior can change dramatically. Always verify orientation markings before installation.
2. Poor Air Sealing Around Frames
Low-E glass reduces conductive heat transfer through the pane, but:
- Gaps between frame and wall
- Incomplete foam or backer rod
- Failed sealant joints
…allow convective heat loss or gain, drafts, and moisture entry. You’ve paid for high-performance glass but left a “leaky ring” around it.
3. Thermal Bridging at Frames, Anchors & Sills
High-conductivity frames (especially unbroken aluminum) can:
- Create cold stripes around the opening
- Cause condensation at frame edges
- Erase much of the U-value improvement the glass provides
Thermally broken frames, insulated sub-frames, and careful detailing at anchors and brackets are essential to preserve low e glass benefits.
4. Damaged or Contaminated Coatings
On site, coatings can be:
- Scratched during handling
- Damaged by aggressive cleaners or metal tools
- Etched by construction dust and concrete splatter
Soft-coat Low-E in particular must be protected inside the IGU and handled carefully. Any damage can cause visible distortions and reduce thermal performance.
5. Failed or Weak IGU Edge Seals
Poor edge seal quality or careless handling leads to:
- Fogging or condensation between panes
- Loss of inert gas fill (argon / krypton)
- Higher U-factor than specified
Once an IGU is compromised, its performance drops permanently. Proper storage, transport, and careful setting blocks are just as important as the initial factory seal.
Installation Practices That Protect Low E Glass Benefits
To ensure the glazing performs as expected, architects, contractors, and owners should insist on these best practices.
1. Align Product Selection With Design Intent
Before any glass arrives on site, the design team should clarify:
- Climate zone: heating-dominated, cooling-dominated, or mixed
- Glazing ratio and orientation
- Visual goals (neutral color, reflectivity, visible light target)
For a more strategic overview of how to rank priorities—U-factor, SHGC, VT, and more—see
👉 What Low E Glass Benefits Should Architects Prioritize Most?.
Once the spec is set, submittals and mockups should confirm:
- Correct coating type and surface orientation
- Thermal break details in frames
- Spacer type and gas fills
- Visual appearance under real daylight
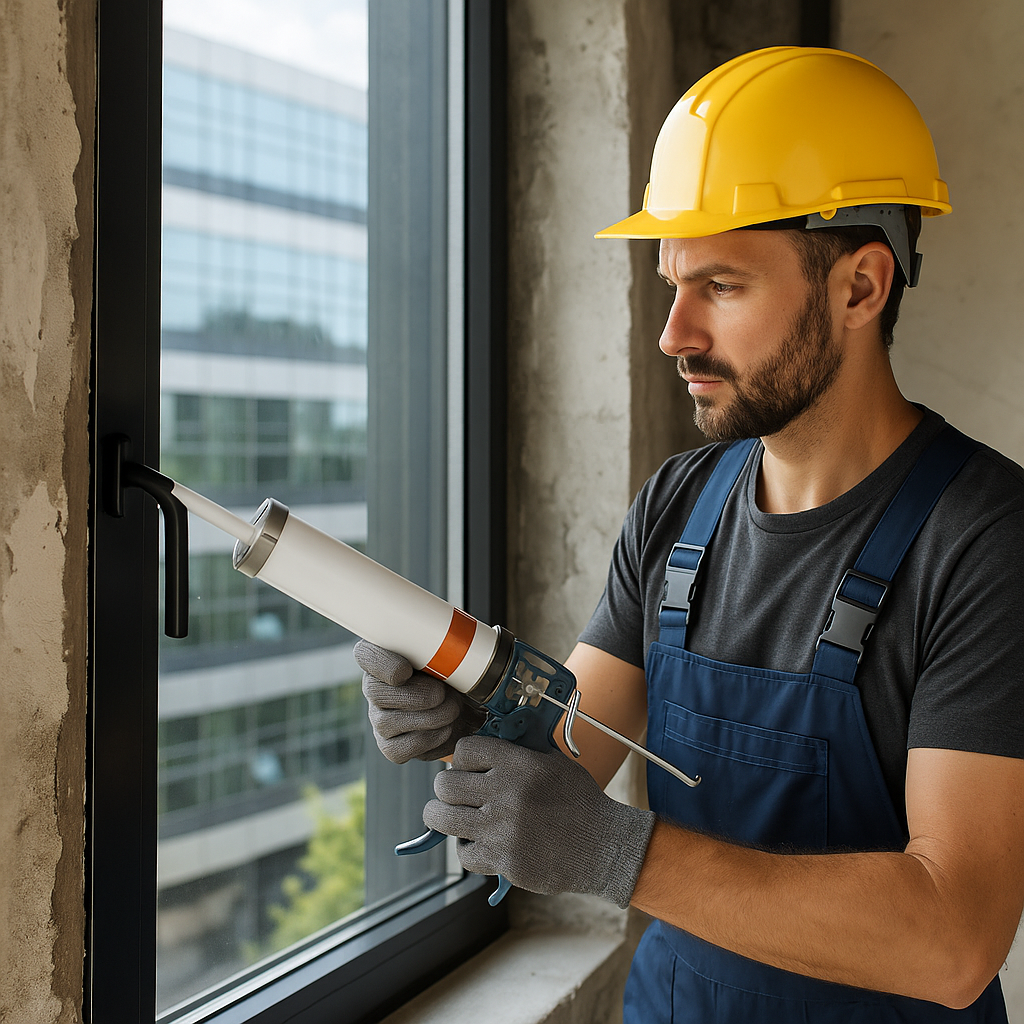
2. Use Qualified Installers and Clear Work Sequences
Low-E units are more sensitive than commodity glass. On site:
- Hire installers experienced with IGUs and high-performance facades.
- Define handling procedures (gloves, padded storage racks, edge protection).
- Minimize re-handling and avoid sliding glass across rough surfaces.
Clear work sequences ensure frames are square, plumb, and fully prepped before glass arrives.
3. Get Air and Water Tightness Right
The best Low-E glass can’t overcome a leaky opening. Critical steps include:
- Continuous air barriers tied into frames
- Backer rod and sealant sized correctly for joint movement
- Sill flashings that drain to the exterior
- Compatible sealants that won’t attack IGU edge seals
Proper testing—blower door tests, water penetration tests, and smoke tests—verifies that the envelope is working as designed.
4. Coordinate Glazing With Shading and Daylight Strategy
Installation doesn’t happen in isolation. The glazing system must align with:
- Overhangs and fins
- Interior shades or blinds
- Room layouts and workpoint positions
This is where visual comfort and glare reduction are either achieved or missed. Low-E glass with the right VT and SHGC, correctly oriented and combined with shading, enables truly comfortable spaces, especially in daylight-led architecture.
For daylight-first projects, it helps to reference:
👉 Which Low E Glass Benefits Enhance Daylight-Driven Designs.
Site Context: How Landscape and Surroundings Affect Performance
Even a perfectly installed Low-E window interacts with its external environment:
- Light-colored paving can bounce additional sunlight onto glass.
- Dark facades or asphalt can raise local temperatures.
- Trees and planting can provide valuable shading and cooling.
That’s why envelope design works best when coordinated with landscape design. The external environment can support or undermine thermal and visual performance.
If you’re planning a fully integrated project, it’s worth exploring
👉 Define Landscape Architecture for Modern Design Work
to see how site strategies and high-performance glazing can work together.
Practical Checklist: Ensuring Low E Glass Benefits Are Realized On Site
Here’s a condensed checklist you can use during design reviews and site inspections:
- Design & Specification
- Climate-appropriate Low-E product chosen
- Target U-factor, SHGC, and VT clearly documented
- Coating type and surface (#2, #3, etc.) specified
- Compatible frames with thermal breaks selected
- Submittals & Mockups
- Manufacturer performance data verified
- Mockups reviewed for color, reflectance, and clarity
- Edge details, spacers, and gas fills confirmed
- Pre-Installation
- Frames installed plumb, level, and square
- Air and water barrier continuity at openings detailed and built
- Storage racks and handling practices set on site
- Installation
- Coating orientation checked for every batch
- Correct setting blocks, shims, and gaskets used
- Perimeter sealants properly tooled and continuous
- Post-Installation
- IGUs checked for damage, distortion, or early fogging
- Envelope air and water tests performed
- Cleaning performed with non-abrasive, approved products
By following these steps, teams turn theoretical low e glass benefits into measurable performance on real projects—lower bills, better comfort, and happier occupants.
Conclusion: Performance Is a Team Effort
Low-E glass is one of the most powerful tools available for reducing building energy use, improving comfort, and cutting carbon emissions. But its success is not guaranteed by product choice alone.
Correct installation is what unlocks the full value of Low-E glazing.
From orientation and frame detailing to air sealing and coordination with shading and landscape, every link in the chain matters. When architects, facade engineers, contractors, and landscape designers work together—and treat installation quality as seriously as the specification—the result is a building where Low-E glass performs exactly as the models promised.